Create Invoices with Editable Templates with Winvesta
Creating accurate invoices is crucial, especially when working with international clients. Just one mistake can lead to payment delays. With international payments already taking 1-2 business days to arrive, every moment counts. Winvesta helps you avoid these issues with customizable invoice templates. This product update will show you how to create accurate invoices using Winvesta's resources.
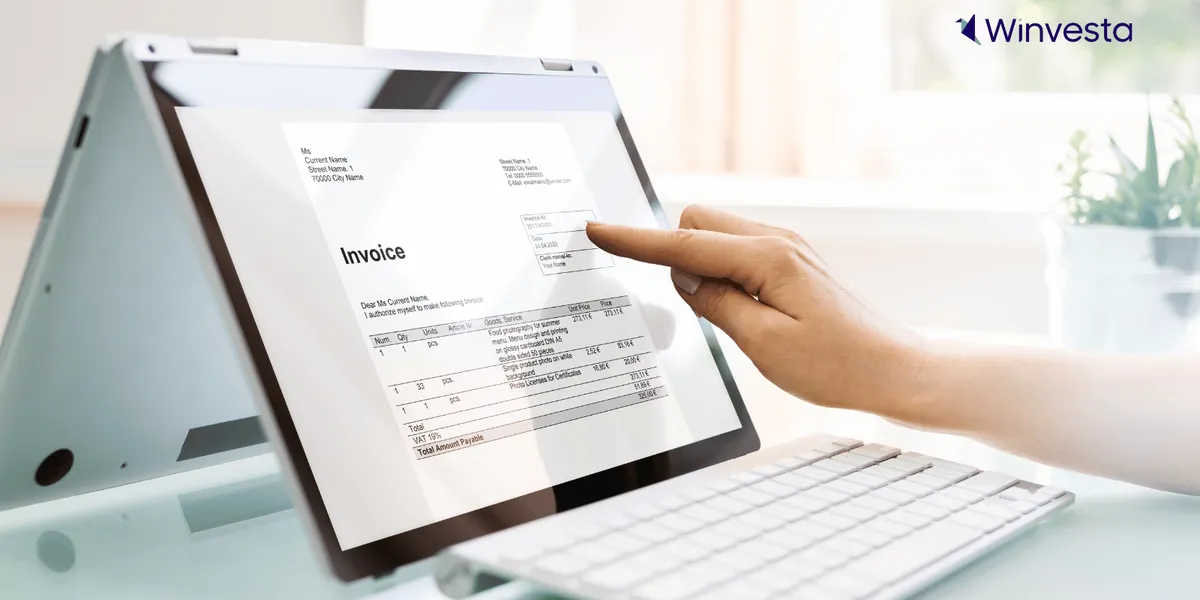
How do I create my own invoice?
Creating an invoice with Winvesta is simple and easy. Here’s how to do it:
Step 1: Sign Up and Access Your Dashboard: First, sign up for a free Winvesta account. After registering, log in to your dashboard, where you can handle all your invoicing tasks.
Step 2: Create a New Invoice: Whether you need an invoice for services or an invoice for goods, you can easily customize it to match your specific requirements.
-4")
Step 3: Customize Invoice Details: Add your client’s details and the right currency, and fill in the fields with descriptions of services or goods provided, quantities, and rates.

Step 4: Finalize and Preview the Invoice Set the payment terms, add any notes, and preview your invoice to ensure everything is correct before sending it.
Key Elements of a Professional Invoice
Here are the 10 key elements that should be in every invoice to avoid delayed payments:
1. Header & Logo: Add a clear header that labels the document as an invoice. This helps both you and your client know what the document is. Including your company’s logo adds a professional touch and shows your brand.
2. Invoice Number: Give each invoice a unique number. This helps you keep track of multiple invoices and makes it easier to organize your accounts. You can also include a purchase order number for extra tracking.
3. Client Name and Details: Include your client’s full name and contact details, like their address, phone number, and email. This ensures that the invoice reaches the right person.
4. Company Name and Details: Clearly display your business’s name, address, phone number, and email on the invoice. This ensures your client knows who they’re paying and how to contact you if they have questions.
5. Date of Sending Invoice: List the date the invoice was sent and the payment due date. This lets your client know when they need to make the payment and ensures you’re referencing the most recent invoice.
6. Description of Goods Sold or Services Rendered: Provide a detailed description of the goods or services provided. Be specific and list the quantity of each item if needed. This helps avoid confusion and ensures clients understand what they’re being billed for.
7. Cost per Unit or Product: Clearly state the cost per item or service, along with the quantity or hours worked. This makes it easy for your client to check the charges, reducing the chances of disputes and speeding up payment.
8. Tax Rates and Fees Include details of any taxes, shipping fees, or extra charges. If you’ve agreed on a discount with your client, make sure to include it here.
9. Total Amount with Currency: Show the total amount due, clearly stating the currency. With Winvesta’s invoice generator, you can easily calculate the total and
change the currency if needed, so your client knows exactly how much to pay.
10. Terms, Conditions, and Payment Instructions: Outline the payment terms, conditions, and any penalties for late payment. Clear terms help both you and your client understand what to expect and what happens if payments are late.
Winvesta is perfect for freelancers and businesses who want to make invoicing easier and more efficient.
So head over and sign up for your Free Winvesta Account.

Disclaimer: The information provided in this blog is for general informational purposes only and does not constitute financial or legal advice. Winvesta makes no representations or warranties about the accuracy or suitability of the content and recommends consulting a professional before making any financial decisions.
Get paid globally. Keep more of it.
No FX markups. No GST. Funds in 1 day.

Table of Contents
No h1 or h2 headings found in this article.
Creating accurate invoices is crucial, especially when working with international clients. Just one mistake can lead to payment delays. With international payments already taking 1-2 business days to arrive, every moment counts. Winvesta helps you avoid these issues with customizable invoice templates. This product update will show you how to create accurate invoices using Winvesta's resources.
How do I create my own invoice?
Creating an invoice with Winvesta is simple and easy. Here’s how to do it:
Step 1: Sign Up and Access Your Dashboard: First, sign up for a free Winvesta account. After registering, log in to your dashboard, where you can handle all your invoicing tasks.
Step 2: Create a New Invoice: Whether you need an invoice for services or an invoice for goods, you can easily customize it to match your specific requirements.
Step 3: Customize Invoice Details: Add your client’s details and the right currency, and fill in the fields with descriptions of services or goods provided, quantities, and rates.
Step 4: Finalize and Preview the Invoice Set the payment terms, add any notes, and preview your invoice to ensure everything is correct before sending it.
Key Elements of a Professional Invoice
Here are the 10 key elements that should be in every invoice to avoid delayed payments:
1. Header & Logo: Add a clear header that labels the document as an invoice. This helps both you and your client know what the document is. Including your company’s logo adds a professional touch and shows your brand.
2. Invoice Number: Give each invoice a unique number. This helps you keep track of multiple invoices and makes it easier to organize your accounts. You can also include a purchase order number for extra tracking.
3. Client Name and Details: Include your client’s full name and contact details, like their address, phone number, and email. This ensures that the invoice reaches the right person.
4. Company Name and Details: Clearly display your business’s name, address, phone number, and email on the invoice. This ensures your client knows who they’re paying and how to contact you if they have questions.
5. Date of Sending Invoice: List the date the invoice was sent and the payment due date. This lets your client know when they need to make the payment and ensures you’re referencing the most recent invoice.
6. Description of Goods Sold or Services Rendered: Provide a detailed description of the goods or services provided. Be specific and list the quantity of each item if needed. This helps avoid confusion and ensures clients understand what they’re being billed for.
7. Cost per Unit or Product: Clearly state the cost per item or service, along with the quantity or hours worked. This makes it easy for your client to check the charges, reducing the chances of disputes and speeding up payment.
8. Tax Rates and Fees Include details of any taxes, shipping fees, or extra charges. If you’ve agreed on a discount with your client, make sure to include it here.
9. Total Amount with Currency: Show the total amount due, clearly stating the currency. With Winvesta’s invoice generator, you can easily calculate the total and
change the currency if needed, so your client knows exactly how much to pay.
10. Terms, Conditions, and Payment Instructions: Outline the payment terms, conditions, and any penalties for late payment. Clear terms help both you and your client understand what to expect and what happens if payments are late.
Winvesta is perfect for freelancers and businesses who want to make invoicing easier and more efficient.
So head over and sign up for your Free Winvesta Account.
Disclaimer: The information provided in this blog is for general informational purposes only and does not constitute financial or legal advice. Winvesta makes no representations or warranties about the accuracy or suitability of the content and recommends consulting a professional before making any financial decisions.
Get paid globally. Keep more of it.
No FX markups. No GST. Funds in 1 day.